
The Reachy Mini represents a groundbreaking achievement in accessible robotics technology. This compact humanoid robot brings professional-grade AI and robotics capabilities to your desktop, opening doors for education, research, and creative exploration. Whether you're a student, educator, researcher, or robotics enthusiast, this comprehensive guide will walk you through everything you need to know to get started with your Reachy Mini.
Understanding Your Reachy Mini Robot
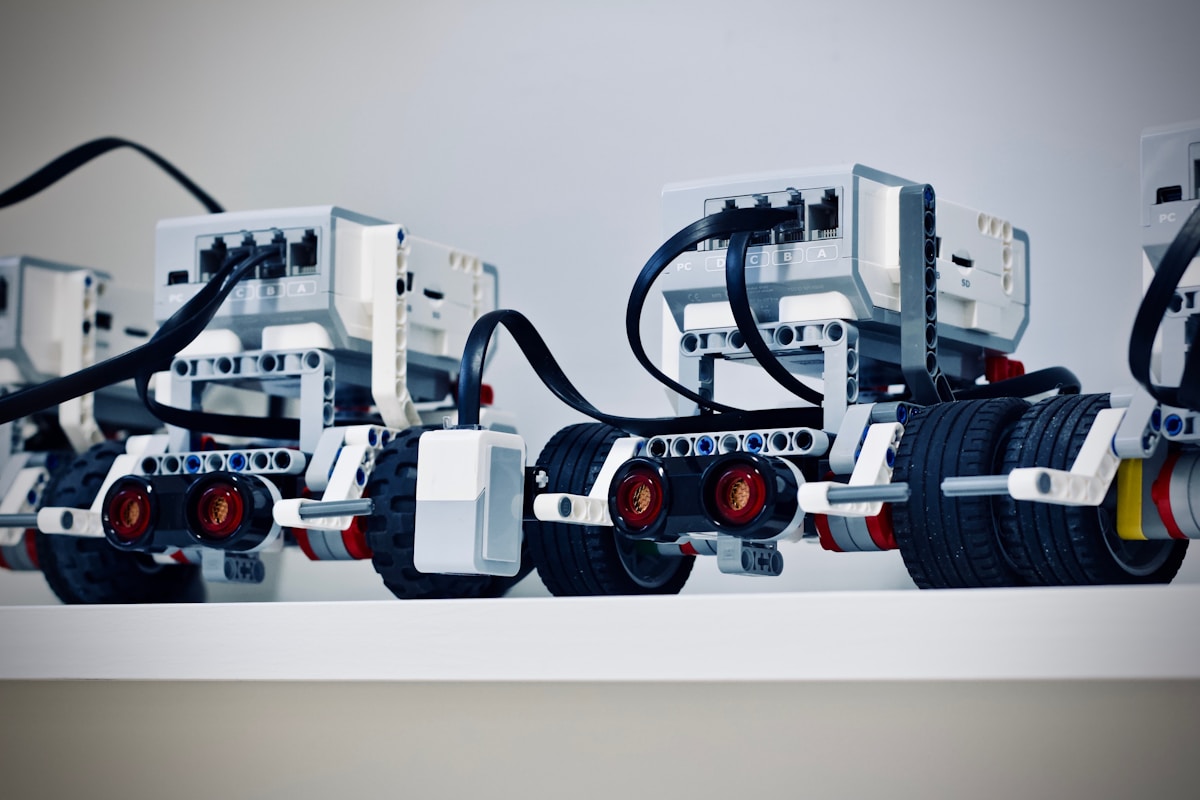
Before diving into setup and programming, it's essential to understand what makes the Reachy Mini special. Standing at just 28cm tall and weighing 1.5kg, this desktop humanoid robot packs impressive capabilities into a remarkably compact form factor. The robot features six degrees of freedom, allowing for natural and expressive movements that bring AI interactions to life.
At its core, the Reachy Mini is powered by a Raspberry Pi 5 computer, providing substantial processing power for AI applications while maintaining energy efficiency. The robot comes equipped with a 360-degree lidar sensor for environmental awareness, dual high-definition cameras for computer vision applications, and an LED display that serves as its expressive "face." These components work together seamlessly to create an engaging and capable robotics platform.
Unboxing and Initial Hardware Setup
Your Reachy Mini arrives carefully packaged with everything you need to begin your robotics journey. The standard package includes the Reachy Mini robot unit, power adapter with appropriate regional plug, USB connectivity cable, quick start guide, and safety information card. Premium versions may include additional accessories such as extended warranty coverage and exclusive access to advanced programming tutorials.
Physical Inspection and Assembly
Upon unboxing, carefully inspect your Reachy Mini for any shipping damage. The robot should feel solid and well-constructed, with smooth-moving joints and secure connections. Check all servo motors by gently moving the arms and head – they should move freely but with controlled resistance. Examine the camera lenses for clarity and ensure the LED display is free from scratches or defects.
The base configuration of Reachy Mini comes pre-assembled, but you'll need to attach the power cable and establish network connectivity. Locate the power port on the robot's base and connect the supplied power adapter. Before powering on, ensure you're working on a stable, flat surface with adequate lighting and at least 50cm of clear space around the robot for safe movement testing.
Power-On Sequence and System Initialization
Connect the power adapter to a surge-protected outlet and press the power button located on the robot's base. You'll observe a startup sequence: the LED display will illuminate with a boot animation, servo motors will perform a brief calibration routine, and the lidar sensor will complete an initialization sweep. This process typically takes 30-45 seconds for the Lite version and 45-60 seconds for the full version with additional sensors.
Network Configuration and Connectivity
The Reachy Mini supports multiple connectivity options to suit different use cases and environments. For the most straightforward setup, use the direct USB connection mode. Connect the included USB cable between your computer and the robot's USB port. The robot will appear as a network device, automatically assigning itself an IP address that your computer can access.
WiFi Network Setup
For wireless operation, you'll need to configure WiFi connectivity. The Reachy Mini creates its own WiFi access point during initial setup, broadcasting as "ReachyMini-[SERIAL]" where [SERIAL] is your robot's unique identifier. Connect your computer to this network using the password provided in your quick start guide. Once connected, access the web interface at http://192.168.4.1 to configure your home or office WiFi credentials.
Navigate through the intuitive web interface to select your WiFi network from the available list, enter your password, and save the configuration. The robot will reboot and connect to your specified network. Note the assigned IP address displayed on the LED screen – you'll use this for all future connections. For advanced users, the robot also supports static IP configuration and custom network settings through the configuration file.

Installing the Python SDK
The Reachy Mini Python SDK provides comprehensive control over every aspect of your robot. The SDK is compatible with Python 3.8 and higher, with Python 3.10 recommended for optimal performance and feature access. Begin by ensuring you have Python installed on your system. Open a terminal or command prompt and verify your Python version:
python --version
SDK Installation Process
Install the Reachy Mini SDK using Python's package manager pip. The installation command downloads the SDK along with all required dependencies:
pip install reachy-sdk
This process may take several minutes as it installs numerous libraries for robotics control, computer vision, and AI integration. Key dependencies include NumPy for numerical computations, OpenCV for vision processing, gRPC for robot communication, and various other specialized libraries. Once installation completes, verify successful installation by importing the SDK in a Python session:
python

>>> from reachy_sdk import ReachySDK

>>> print("SDK installed successfully!")
Your First Robot Connection
With the SDK installed, you're ready to establish your first connection to the Reachy Mini. Create a new Python script or work in an interactive Python environment. The connection process uses the IP address you noted during network configuration:
from reachy_sdk import ReachySDK


# Connect to your Reachy Mini

reachy = ReachySDK(host='192.168.1.100')  # Replace with your robot's IP


# Verify connection

print(f"Connected to {reachy.info.model}")

print(f"Serial number: {reachy.info.serial_number}")
Upon successful connection, you'll receive confirmation including your robot's model information and serial number. This connection object becomes your interface to all robot functionality, from basic movements to advanced AI features. The SDK maintains this connection throughout your session, handling communication protocols and error recovery automatically.
Creating Your First Movement Sequence
Let's bring your Reachy Mini to life with its first programmed movements. The robot's articulation system uses servo motors controlled through joint position commands. Each joint accepts position values in degrees, with specific ranges defined for safe operation. Start with a simple arm movement sequence:
import time


# Enable motor power

reachy.turn_on()


# Move the right arm

reachy.r_arm.shoulder_pitch.goal_position = -30

reachy.r_arm.elbow_pitch.goal_position = -45


# Wait for movement completion

time.sleep(2)


# Return to neutral position

reachy.r_arm.shoulder_pitch.goal_position = 0

reachy.r_arm.elbow_pitch.goal_position = 0


time.sleep(2)


# Disable motors

reachy.turn_off()
This simple program demonstrates fundamental robot control concepts. The turn_on() command energizes the servo motors, making them hold their positions and respond to commands. Setting goal_position values initiates smooth movements to target angles. The time delays allow movements to complete before issuing new commands. Finally, turn_off() releases motor power, allowing free movement and conserving energy.
Understanding Joint Coordinates
The Reachy Mini uses an intuitive coordinate system based on human anatomy. The shoulder pitch controls forward and backward arm movement, elbow pitch handles bending, and wrist rotation enables turning motions. The head features pan (side-to-side) and tilt (up-down) joints for expressive positioning. Each joint includes built-in position limits to prevent damage and ensure safe operation.
Joint velocities can be controlled to create different movement characteristics. Slow, deliberate movements work well for precise positioning tasks, while faster movements create more dynamic and expressive behaviors. The SDK provides velocity control through the moving_speed parameter, accepting values from 0 to 100 representing percentage of maximum speed.
Safety Considerations and Best Practices
While the Reachy Mini is designed with safety as a priority, following best practices ensures longevity and optimal performance. Always operate the robot on a stable surface with adequate clear space. The robot's movements, while controlled, can generate surprising forces at the end of arm extensions. Keep the operating area free from valuable or fragile items, especially during initial learning and experimentation phases.
Monitor the robot's power consumption and heat generation during extended operation sessions. The servo motors can become warm during intensive use – this is normal, but excessive heat indicates potential overwork. Implement rest periods in long-running programs and ensure adequate ventilation around the robot's base unit where the main computer resides.

Exploring Advanced Features
With basic movement mastered, you're ready to explore the Reachy Mini's advanced capabilities. The integrated cameras enable computer vision applications using OpenCV and other image processing libraries. Access camera feeds through the SDK's vision module, which provides pre-processed images ready for analysis. Common applications include face detection, object tracking, color recognition, and gesture interpretation.
Integrating Hugging Face AI Models
One of the Reachy Mini's most exciting features is seamless integration with Hugging Face's vast AI model ecosystem. The robot can run inference for various AI tasks including natural language processing, image classification, and speech recognition. Here's a simple example of integrating a sentiment analysis model:
from transformers import pipeline


# Initialize sentiment analysis

sentiment = pipeline("sentiment-analysis")


# Analyze text

result = sentiment("Reachy Mini is amazing!")[0]


# React based on sentiment

if result['label'] == 'POSITIVE':

    # Perform happy gesture

    reachy.r_arm.shoulder_pitch.goal_position = -45

    reachy.l_arm.shoulder_pitch.goal_position = -45
This integration opens endless possibilities for creating interactive, intelligent robot behaviors that respond naturally to human input and environmental stimuli.
Troubleshooting Common Issues
Even with careful setup, you may encounter occasional issues. Connection problems typically stem from network configuration or firewall settings. Verify your robot's IP address hasn't changed, check that your firewall allows the required ports, and ensure no other applications are using conflicting network resources. If connection persists, restart both the robot and your computer, then attempt reconnection.
Jerky or unresponsive movements often indicate insufficient power supply or communication delays. Verify your power adapter matches the specifications in your manual and that connections are secure. For wireless connections, moving closer to the WiFi router can improve communication reliability. If specific joints behave erratically, they may require recalibration through the SDK's maintenance module.
Next Steps in Your Robotics Journey
Congratulations on successfully setting up and programming your first Reachy Mini movements! This guide has provided the foundation, but the real adventure begins as you explore the robot's full potential. Consider joining the Reachy Mini community forums where developers share projects, troubleshoot challenges, and collaborate on innovative applications.
Experiment with combining movements into complex sequences, integrate computer vision for interactive behaviors, and explore the growing library of Hugging Face models compatible with your robot. The skills you've developed here transfer to more advanced robotics concepts and prepare you for cutting-edge developments in AI and automation technology.

Document your projects and share your discoveries with the community. Every Reachy Mini owner brings unique perspectives and creative applications that advance the entire ecosystem. Whether your interests lie in education, research, art, or entertainment, your Reachy Mini provides a versatile platform limited only by your imagination.